
Introduction:
-
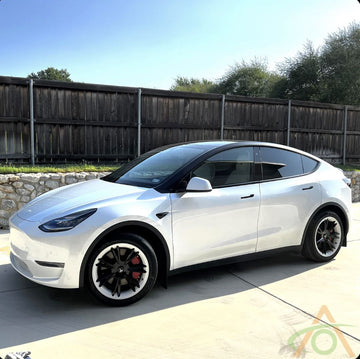
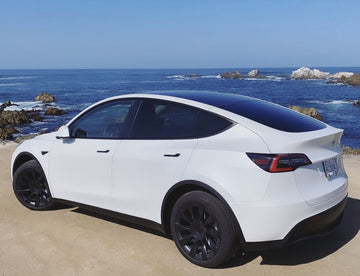
Briefly mention the challenge: The expansive glass roof is stunning but turns the cabin into a greenhouse in sunny weather.
-
Solution: Roof sunshades significantly reduce heat and glare, enhancing comfort and protecting the interior.
-
Purpose of the guide: To demystify installation for all major sunshade types.
1. Types of Tesla Model Y Sunshades
* Official Tesla Sunshade: Designed for perfect fit, specific attachment points, premium materials. Pros: Guaranteed fit, OEM quality. Cons: Higher cost, availability.
* Third-Party Manual Sunshades: Vast range (mesh, reflective, folding, roll-up). Pros: More affordable, diverse options. Cons: Fit can vary, quality spectrum.
* Powered Sunshade Options: Motorized systems (less common for Model Y roof). Pros: Ultimate convenience. Cons: High cost, complex installation (often professional), potential warranty concerns.
2. General Installation Principles (Apply to ALL Types)
* Cleanliness is Key: Thoroughly clean the glass roof interior surface with glass cleaner and a lint-free microfiber cloth. Let dry completely.
* Ambient Temperature: Install in a temperate environment (avoid extreme cold or heat) for optimal material flexibility.
* Handle with Care: Avoid snagging or creasing the shade material excessively.
* Read the Manual: Always consult the specific instructions provided with your sunshade.
* Check Fit Before Final Placement: Hold the shade loosely in place to confirm orientation and approximate alignment before securing.
3. Installing the Official Tesla Sunshade
* Identify Components: Shade panels (front & rear), attachment clips/brackets.
* Clip/Bracket Installation: Carefully attach the provided clips or brackets to the designated points along the roof rails/headliner edge as per Tesla's instructions. Ensure they snap securely.
* Positioning the Shade: Align the sunshade panel(s) with the installed clips/brackets.
* Securing: Gently push the shade edge into the clips/brackets until it audibly clicks or feels firmly seated along its entire length.
* Final Check: Run your hand along the edges to ensure it's fully engaged and sits flat against the glass without major gaps.
4. Installing Third-Party Sunshades
* Common Methods:
* Sprung Wire/Magnets: Stretch the shade slightly to engage the spring wire into the roof channel/trim. Magnets attach to metal roof frame points.
* Suction Cups: Moisten suction cups, press firmly onto clean glass, lock levers if present.
* Static Cling: Simply press the static-cling material onto the clean glass surface, smoothing out air bubbles.
* Hook & Loop (Velcro): Adhesive strips attach to the roof frame/trim, corresponding strips on the shade attach to these.
* Step-by-Step Essence:
1. Unfold/unroll carefully.
2. Position correctly (front/rear orientation).
3. Starting at one corner, begin attaching using the shade's specific mechanism (e.g., hook wire, press suction cup).
4. Work methodically around all edges, ensuring even tension and alignment.
5. Smooth out any wrinkles or bubbles (especially for static cling).
5. Tips for Successful Installation
* Two-Person Job (Often Easier): Especially for larger shades or spring-wire types.
* Work Front-to-Back: Install the front shade first if using a multi-panel setup.
* Mind the Headliner: Be gentle to avoid damaging the fabric headliner.
* Avoid Overstretching: Can damage the shade or affect fit.
* Check Sunroof Clearance (If Applicable): Ensure shade doesn't interfere if your Model Y has a front sunroof that opens.
6. Ensuring Proper Fit and Alignment
* Gap Check: Look for consistent, minimal gaps around the entire perimeter. Large gaps reduce effectiveness and can cause rattling.
* Flatness: The shade should lie flat against the glass without significant sagging or bulging.
* Tension: Should be taut enough not to flutter or sag, but not drum-tight (unless designed that way).
* Visibility: Check sightlines from the driver's seat – it shouldn't obstruct vision.
7. Storage When Not in Use
* Use the Bag!: Always store in the provided storage bag to protect from dust, moisture, and damage.
* Fold/Roll Carefully: Follow manufacturer's folding/rolling instructions to prevent creases or wire damage.
* Cool, Dry Place: Store in the trunk, frunk, or home – avoid extreme temperatures and humidity.
* Avoid Heavy Objects: Don't place heavy items on top of the stored shade.
8. Maintenance
* Gentle Cleaning: Use a soft brush attachment on a vacuum or a soft, dry microfiber cloth for dust. For smudges, slightly dampen cloth with water or mild soap solution. Never use harsh chemicals or abrasive cleaners.
* Air Dry: If cleaned with water, ensure completely dry before storing.
* Inspect Regularly: Check for tears, loose stitching, damaged clips/suction cups, or deformed wires.
* Suction Cup Care: Clean rubber cups periodically with water; a tiny bit of glycerin can help maintain pliability (wipe off excess).