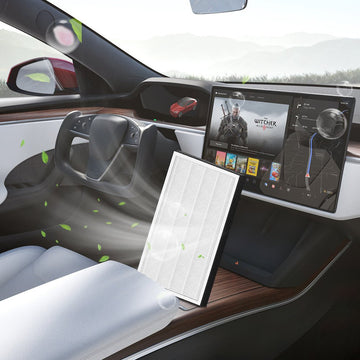
Maintaining air quality inside your Tesla Model Y is crucial for comfort and health. The air filter plays a vital role in blocking dust, pollen, and other pollutants. Regular replacement ensures optimal performance of your vehicle's climate control system, delivering a cleaner, healthier driving experience. This guide provides detailed steps for replacing the air filter in your Tesla Model Y.
1. Signs You Need a New Air Filter
-
Reduced Airflow: The fan is on high but less air comes out of the vents.
-
Musty or Moldy Odors: A tell-tale sign of mold or mildew growth on the filter, often noticed when the AC first turns on.
-
Increased HVAC Noise: The fan motor has to work harder to pull air through a clogged filter.
-
General Timeline: Tesla recommends inspection every 2 years, but replacement is often needed annually, especially in dusty or high-pollen areas.
2. Tools and Parts Required
-
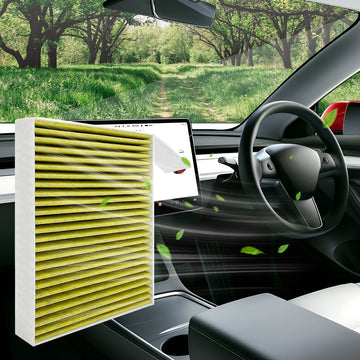
Replacement Filter(s): Specify that the Model Y uses two filters (e.g., part number 1099343-00-A for HEPA/Carbon filters). Must be purchased in advance.
-
Trim Removal Tool(s): A plastic pry tool is essential to avoid damaging the interior trim.
-
#10 Torx Screwdriver or Bit: Required to remove the panel screws.
-
Flashlight: To see into the dark HVAC cavity.
-
Gloves (Optional): To keep hands clean.
3. Step-by-Step Process to Access the HVAC System
-
Disclaimer: Always perform this task with the vehicle in Park. This is a guide; proceed at your own risk.
-
Step 1: Empty the Glovebox. Remove all contents.
-
Step 2: Remove the Dampener Arm. Locate the small arm on the right side of the glovebox that controls its slow-drop feature. Gently pry it off its ball joint using your fingers or a trim tool.
-
Step 3: Remove the Glovebox Stopper. On the left side, find the plastic stopper pin. Push it inward or gently pry it to release the glovebox.
-
Step 4: Let the Glovebox Hang. Once both sides are released, the glovebox will swing down and hang freely, revealing the filter cover behind it.
-
Step 5: Remove the Filter Cover. Use the #10 Torx screwdriver to remove the two screws securing the cover. Pull the cover straight off.
4. Replacing the Filters
-
Step 6: Remove the Old Filters. Pull the old filters straight out. Note their orientation (airflow arrows) for installing the new ones.
-
Step 7: Insert the New Filters. Slide the new filters into the housing, ensuring the airflow arrows point DOWN (toward the blower motor). This is critical.
-
Step 8: Reassemble in Reverse Order.
-
Snap the filter cover back into place.
-
Secure it with the two Torx screws.
-
Lift the glovebox back into position.
-
Reattach the stopper pin on the left side.
-
Reclip the dampener arm on the right side.
-
-
Step 9: Test the System. Turn on the HVAC fan to ensure it operates normally and the odor is gone.
5. Pro Tips for a Successful Replacement
-
Buy Quality Filters: OEM Tesla filters or reputable third-party brands (like HEPA) are recommended.
-
Inspect the Housing: While the cover is off, use a flashlight to check for any debris in the intake housing.
-
Odor Elimination: For strong smells, consider using an HVAC cleaner spray before installing the new filters (follow product instructions carefully).
-
Take Your Time: Be gentle with the plastic clips and trim to avoid breaks.
View Video